Oftentimes instead of finding and using free images on the web, you may prefer to take screenshots to use for your WordPress blog posts. Taking screenshots is not difficult, the process is based on what type of device you are using.
Using screenshots in WordPress posts is a great way for your post to stand out and be unique. In this article, I will give you quick and easy instructions on how to take screenshots for your WordPress blog posts.
How to Take Screenshots
Since there are multiple ways to take screenshots, below you will find some easy-to-read and understand instructions on how to take WordPress screenshots on different devices and even using an app and a Chrome extension tool. Simply pick the method you like best and go for it.
Taking Screenshots Using CloudApp
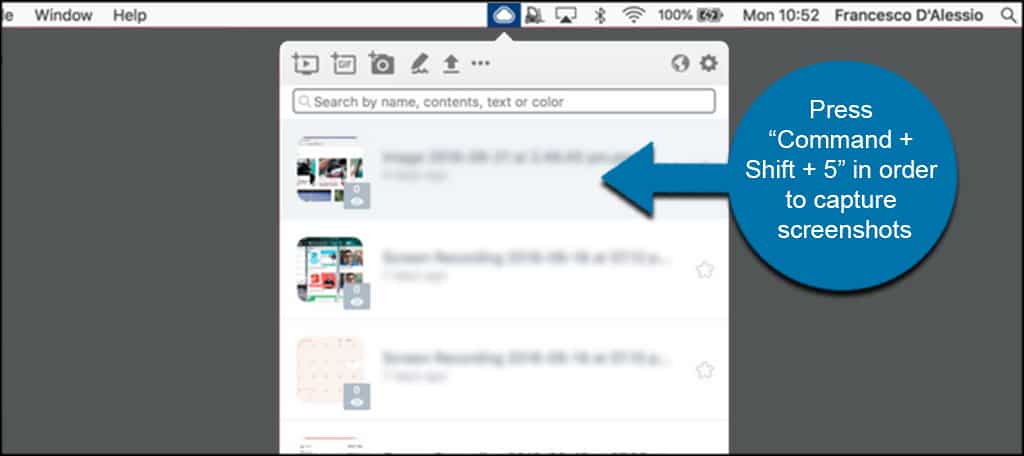
CloudApp is one of the more popular screen capture apps out there. The app allows you to easily take a screenshot of your computer and share. Or in this case, save it and use it for a WordPress screenshot in a blog post.
CloudApp automatically saves the link of a screen capture in the clipboard. What this means is that you can manage all your screenshots and share them on any platform including WordPress.
The app is available for both Mac and Windows and is also available as a Chrome extension. CloudApp also integrates with all the popular communication apps like Slack, Asana, Trello, and others.
Mac Users: Press “Command + Shift + 5” in order to capture screenshots.

Windows Users: Press “Alt + Shift + 5” to capture screenshots.
Note: CloudApp also allows you to create a video screencast, so you can create quick tutorials with audio.
Use Lightshot for Chrome
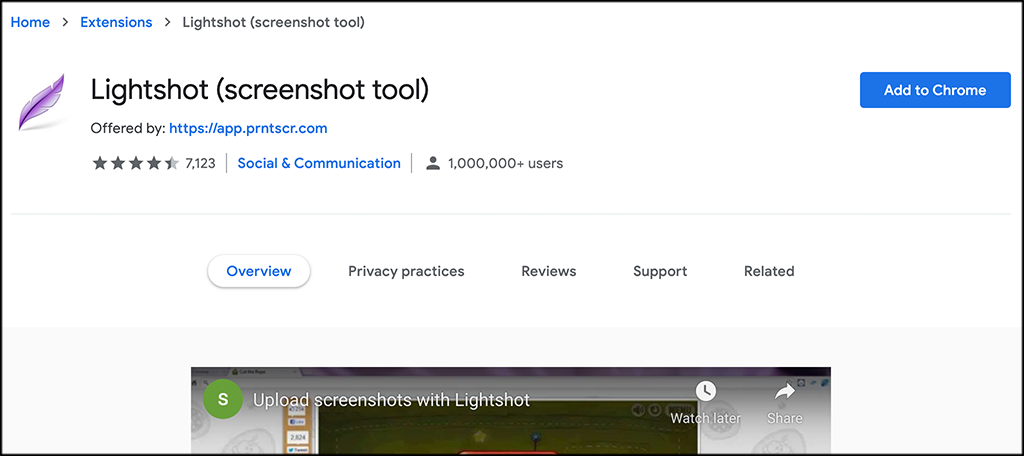
Lightshot is a Chrome extension that makes it super easy to take screenshots. You simply select an area of the screen, edit your screenshot, and upload it to the server. Lightshot is probably the fastest way to take customizable screenshots.

Click on the “Add to Chrome” button and add it to your browser. Once it is there, use it anytime by clicking on the purple feather icon where your plugins are.
By default, you can also use shift+print screen on PCs.
The tool will come up and you simply select any portion of the screen you want and take your screenshot.

Feel free to use any of the available tools as well right there on the screen.
Taking Screenshots on a Mac
If you happen to be using a Mac and you want to take screenshots there are several options for it. Mac devices allow you to take a full shot of the screen, or just take screenshots of portions of the screen that you choose.
Full Screen: To take a screenshot of the entire screen on a Mac press “Shift + Command + 3” and that will capture your entire screen.

Selected Area: If you want to take a screenshot of just a portion of the screen press “Shift + Command + 4.” You will see a crosshair pointer appear. Click and drag the crosshair (pointer) to take a screenshot of the selected area.

Specific Window: If you want to take a screenshot of a specific window, then press “Shift + Command + 4” and also press the “Space bar” on your keyboard. You will see that the pointer will change into a camera icon. Simply drag the camera icon on a window to highlight and capture it.

Taking Screenshots on Windows
Windows is somewhat the same, somewhat different than a Mac when it comes to taking screenshots. To take portions of a screen in the screenshot you will have to use a snippet tool, otherwise, Windows only allows for full-screen screenshots.
Window’s Device Screenshot: Press the “Ctrl + PrtSc” keys and this will capture the entire screen. If you need to edit the image or cut into just a portion of it, you will need to upload the screenshot into editing software like Adobe Photoshop.
Windows 10: If you’re running Windows 10, then you can also use the new Snipping tool to easily take screenshots. Snipping tool allows you to capture a specific part of your screen and automatically save it to a clipboard. Press “Windows + Shift + S” keys to start taking a screenshot with the Snipping tool. Next, click and drag the pointer to select an area on your screen. It will capture the screenshot automatically as you leave the right click.
Taking Screenshots on Chromebook
Chromebook allows you to easily take screenshots of the entire screen or of a selected area, much like a Mac does.
Full Screen: Press the “Ctrl + Switch Window” keys to capture your full screen. Now, if you are using Chrome OS 64.0.3282.134 or later, then you can simply press the “Power + Volume Down” buttons to capture your entire screen.
Selected Area: Press “Ctrl + Shift + Switch Window” keys. Then click and drag the crosshair (pointer) to select the area that you want to capture. Upon leaving the click, you’ll see a notification on the bottom right corner of your screen that shows your screenshot is saved in the “Downloads” folder.
Taking Screenshots on iPhone
Taking screenshots on smartphones, in general, is actually very simple.
iPhone X: Press the “Side” button on the right side and “Volume Up’” button on the left side of your phone. Make sure that you press both buttons at the same time. It will take a screenshot of the screen and save it to the “Screenshots” folder in your photos.
iPhone 8 and Earlier: Press the “Power + Home” buttons at the same time to take a screenshot.
Taking Screenshots on Android
There are several different manufacturers that sell smartphones with the Android OS. That being said, most of the new devices follow the same process when it comes to taking screenshots.
Android Phone: Press the “Power + Volume Down” buttons together. It’ll take the screenshot and save it in your photo gallery.
That will do it. I hope this article has shown you how easy it is to take screenshots on any platform.
What is your choice of platform to take screenshots from? Do you prefer a particular screenshot app?
Final Thoughts
As you can see, there are a number of methods and tools available to you if you want to take a screenshot. The one you choose will be based a lot on personal preference, as well as what type of device you happen to be on when taking the screenshot.
Either way, now you have a lot of different screenshot options available so try them out and see which one you like best.
Is there another tool you use for taking screenshots? Which method from above is your favorite?

There is another screenshot on Mac shortcut that allows you to capture a window or menu