WordPress has many additions that boost the flexibility of creating content. Whether it’s typography or graphics, you can add plugins that accentuate your posts and pages quite easily. In fact, you can add tabs to WordPress to give your content a more interactive feel while highlighting specific information.
Tabs are used quite often, especially in eCommerce. When you see a site that separates information about a product on the same page, those are usually tabs. Essentially, you’re increasing the amount of text that can go into a single post or page while keeping the view space relatively small.
In this tutorial, I’ll show you how to add tabbed content in WordPress. It’s a simple procedure that has a lot of possibilities regardless of what kind of a website you’re creating.
What Can You Do with Tabbed Content?
Using tabs gives you the ability to add more details to a topic in a smaller amount of space. You see this a lot in places that offer product descriptions, technical details, and user reviews all in one section. The user has control to click into any of the content areas to learn more about the titled tab.
If you’re trying to condense a lot of information into as little space as possible, tabs are quite useful. For example, let’s say you have five paragraphs on your site and you want to shorten the visual length of the webpage. You could place each of those five paragraphs into their own tabs and greatly shorten the length of the page. That is, as long as it makes sense to put content into the tabs.
Tabbed elements can also be used to display staff members. Since most tabs can handle images, each can have a picture and bio information of people working on specific projects or within the company.
When you add tabs to WordPress, you open a variety of opportunities for improving the layout of your content. And improving the visual appeal of your site is how fans and followers are formed.
How to Easily Add Tabs in WordPress
Step 1: Install Tabby Responsive Tabs
The Tabby Responsive Tabs plugin is a terrific choice to add tabs to WordPress. It allows you to add a horizontal tab set on any post or page. In fact, you can even add multiple sets of tabs on the same page or post.
Everything the plugin does is through the use of simple shortcodes. As a result, using the plugin is all about copying and pasting these shortcodes, which means just about anyone can use it effectively.
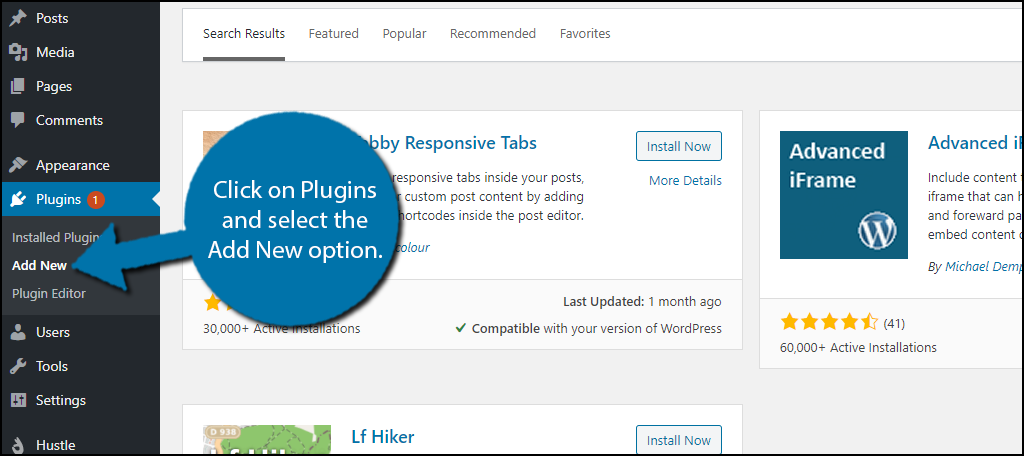
Let’s start by clicking on Plugins and selecting the Add New option on the left-hand admin panel.
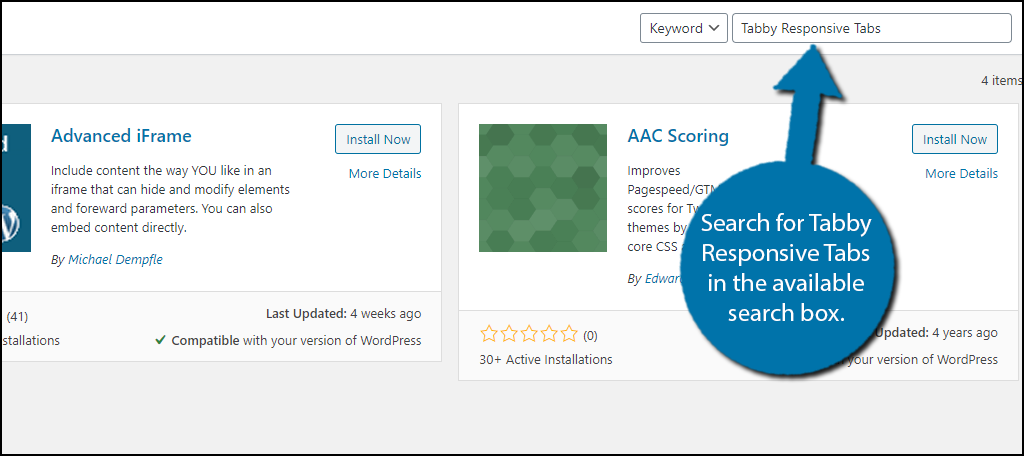
Search for Tabby Responsive Tabs in the available search box. This will pull up additional plugins that you may find helpful.
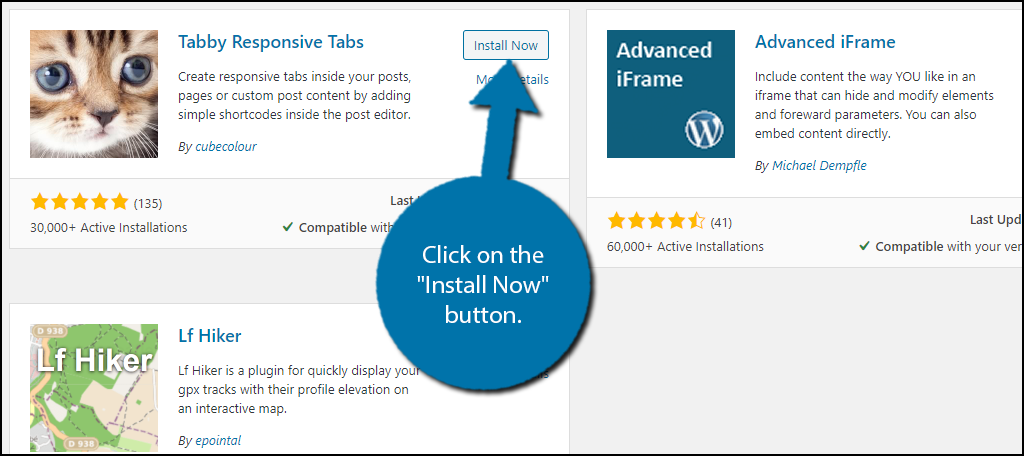
Scroll down until you find the Tabby Responsive Tabs plugin and click on the “Install Now” button and activate the plugin for use.
Step 2: The Basic Shortcodes
Unlike most plugins, there are no settings to configure at all. Instead, the plugin is entirely based on the shortcodes you use. Thus, I will go over what each one does.
Luckily, the shortcodes are very easy to use and really just revolve around using two basic layouts.
The first is: [ht_message mstyle=”info” title=”” show_icon=”” id=”” class=”” style=”” ][tabby title=”tabname”][/ht_message]
This shortcode is simple, the only edit you need to make is to change “tabname” to the name of the actual tabs you want to add. For example, if you wanted a tab named “Finances” that is what you would type.
You can add it as many times as you want to create multiple tabs. Thus if you wanted four tabs, you would use this shortcode 4 times.
Here is an example of what multiple tabs looks like:
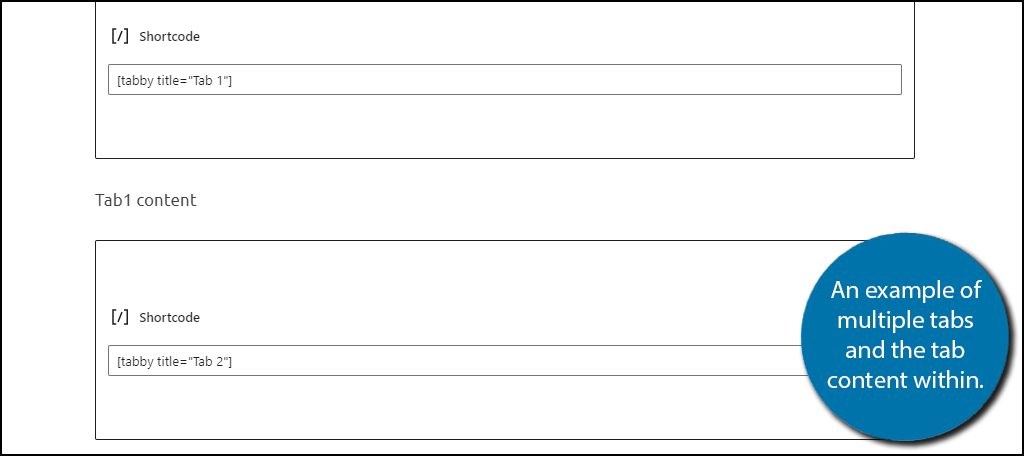
Notice in the example that between Tab 1 and Tab 2 that there is normal text. Any text that is located between the two shortcodes is the text that will be found within the tab.
While there is no limit to the number of tabs you can add, it is not a good policy to add a lot.
To complete creating a tab, you now need to add the second shortcode at the end of the last bit of text. It is as follows:[ht_message mstyle=”info” title=”” show_icon=”” id=”” class=”” style=”” ][tabbyending][/ht_message]
This will end the current set of tabs. Without this addition, the tabs will not appear on the post or page. instead, you will simply see a bunch of text that is unpleasant to look at.
Here are the final results:

These are the basic shortcodes you will use to create tabs in WordPress, there are a few more advanced ones I will go over in the next step.
Step 3: The Advanced Shortcodes
If you’re looking for more customization options, these are the shortcodes you will be using. While the basic shortcodes will be fine for many websites, some might want a bit more.
For instance, by default, only the tabs on the left will be open when clicking on a page. You can fix this by editing the tab title shortcode like so:
[ht_message mstyle=”info” title=”” show_icon=”” id=”” class=”” style=”” ][tabby title=”My Tab” open=”yes”][/ht_message]
The “open” part will ensure that regardless of the position of when you add them, it will be open when a visitor enters a page. This is useful if you plan on using the same tabs on multiple pages.
You can also spruce up your tabs by adding tab icons. The shortcode to do this is as follows:
[ht_message mstyle=”info” title=”” show_icon=”” id=”” class=”” style=”” ][tabby title=”My Tab” icon=”cog”][/ht_message]
However, it is important to keep in mind that getting this to work does require some work. The plugin uses the icon element to do so, so you need to tweak your theme to enable this feature.
And finally, you can also choose what tab is open via the URL. Simply add “?target=tabname” to the end of the URL and customize the tab name. This is great for internal linking and sharing purposes.
Other Tab Plugins to Consider
Tabs are quite a common feature for websites. They can be extremely versatile when delivering information in a limited amount of space. The hardest part is picking a tabbing plugin that fits your aesthetics or layout ideas for the site.
Here are a few more plugins I found that may be worth considering.
Shortcodes Ultimate
Shortcodes Ultimate is an incredibly useful plugin to have installed. Among the 50+ shortcode elements it adds to WordPress, is a good tab creator. Although it doesn’t have the customization options that other plugins, it is a simple system and is easy to use.
Tabs
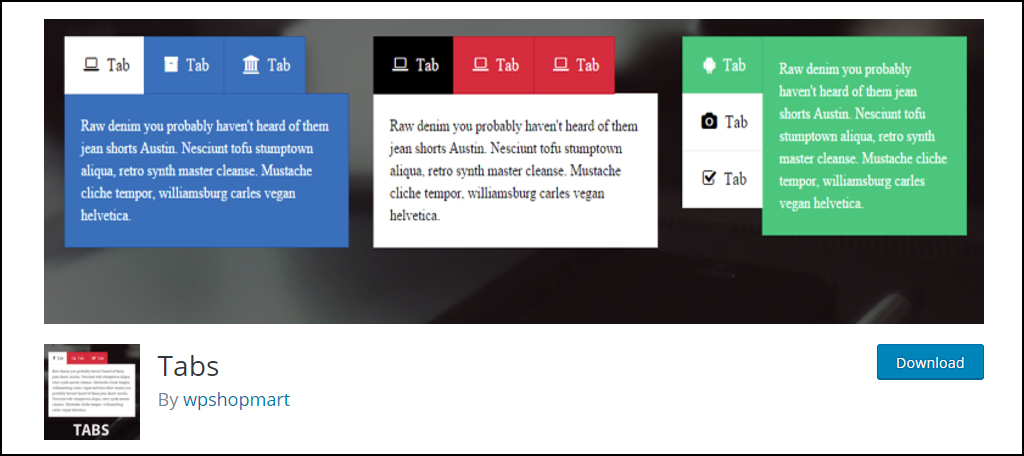
Tabs is a fun plugin as it allows users to input images within the tabbed content. This system may be a bit easier for people to use as it comes with its own builder. In the end, all you need is a single shortcode to show the tabs in a post or page. You’re able to control a variety of features such as colors and alignment with just a few clicks of the mouse.
Custom Product Tabs for WooCommerce
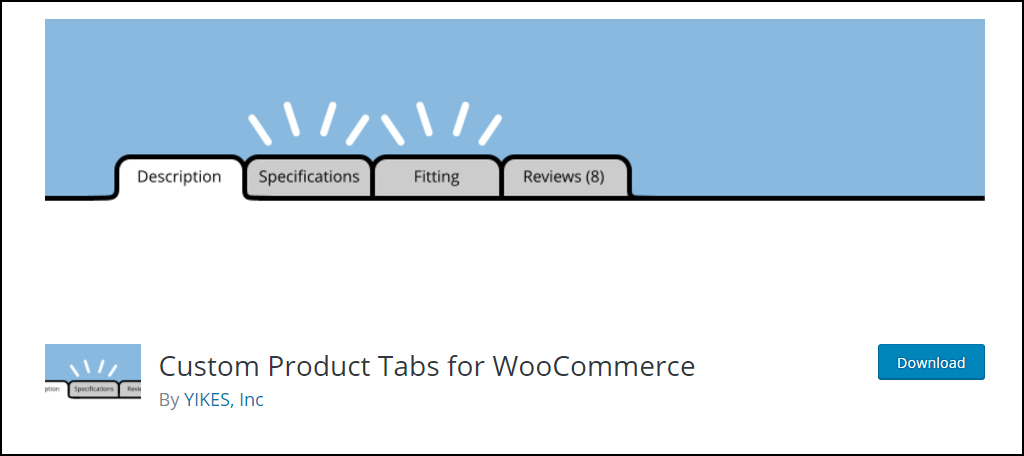
I figured I should add Custom Product Tabs for WooCommerce as many of you will use your website to make money by selling goods. This is an addition to the popular plugin, “WooCommerce.” Its text editor is capable of handling many elements such as images and HTML, just like the standard text editor in WordPress. This is a great way to add more details surrounding the products you sell.
Adding More to Your Content
Adding tabs to WordPress is just one small part of what you can do to enhance your content. The system is full of plugins that may offer a layer of interaction while improving engagement. All it takes is a bit of patience to scour through the thousands of titles and abilities to find the best for your site.
What kind of content additions have you used in the past? What’s your favorite plugin for content development in WordPress?
